Friday, November 28, 2014

Billy Built-ins: Filling the Shelves

We have a finished product, which includes lots and lots of empty shelves (a homeschool mom’s dream) and happy helpers posing in front of it.  And, a picture of my biggest helper and a photo bomber.


On the far left, we have our board games. Well, most of them anyway. Some of them are still hidden away in a cupboard. In the cute old fashioned trash cans (from IKEA), we have Lego and Wedgits.


Above the computer area, I have teacher supplies, so, I put them up a little higher to discourage the kids. Behind the computer I have a stick on blackboard. I love this. One day, I hope to have blackboard covering the entire area behind the computer, but I’m not sure that will ever actually happen. In the meantime, this will have to do.


Next we have shelves containing part of our collection of fiction. We have stickers on the binding of the fiction books to make it easy for the kids to put them away. The books are sorted by reading/interest level and each shelf has a different color sticker. On the bottom shelf, each of the kids has a magazine holder and a binder. 

On the top shelf on the right, we have oversized books and the books I currently use for teaching.  The shelves beneath that hold various craft supplies, coloring books, activity books and white boards. Apparently, I didn't take a picture of these shelves right after we filled them, because these shelves are definitely showing signs of use, compared to the other photos.


All the cute buckets and containers hold various school supplies, craft supplies, etc. This is the beginning of the non-fiction collection (which continues on beyond the built-ins). Yes, I have them all filed using the Dewey decimal system. I found myself buying books I already had or just not being able to find books I needed. So, years ago, I broke down and spent the time to catalog my books. I’m so glad I did.


One last shot of the awesome lights on top of the shelves. I do keep things on top of the shelves as well. 


And, a picture of the whole shelf setup.


Sunday, November 23, 2014

Billy Bookcase - Detail Work

The next task was the backs of the bookcases. IKEA supplies you with a heavy duty cardboard back, but we wanted a more sturdy and attractive back. We bought beadboard paneling and cut it to fit into the back of the bookcases. Then we painted the beadboard. I loved the colored paint on one of the blogs. So, we decided to use that idea. We went with a pale yellow. The kids were thrilled to help with the painting.


Then, we nailed the beadboard to the back of the bookcases to secure them. Some of the pieces didn't quite fit, so we had to sand the edges until they slid into place.


Next we had to get all the little trim pieces. My husband works in construction, building beautiful custom homes. So, his DIY projects are always very well done. This means we needed lots of little trim pieces to make the shelves look perfect. Next came lots of sanding and painting. We took one of the shelves to the paint store to get white paint that matches. We only painted the trim pieces, not the actual IKEA shelves, and they matched great.


Getting a smooth finish on the bottom edge was the hardest part. There is a tiny 1/8” gap that several bloggers filled in with caulk or something like that. But, that wasn’t good enough. We went ahead and bought 1/8” trim pieces and cut them to size to fill in those gaps. On that, we put a trim piece. Then we put a baseboard piece in front of that. The baseboard reached perfectly flush with the bottom shelf down to the floor. We did a lot of sanding on that area to make it smooth.


We had to make the walls thicker where the computer opening is, because the full length pieces are only one bookshelf wide and we needed the extra width to match up to the side walls of the bridge piece. So, he cut white laminate shelves to size to make it double wide. We also put wide trim pieces on all the places where the shelves met – so it looks like one big piece of wood instead of two shelves stuck together. And, just to make it all look better, we nailed a wide piece on the front of the main cross pieces. It makes it look like a hefty piece of furniture instead of a bunch of cheap Billy bookcases.


Next step was the crown moulding. This is the first time my husband has ever done crown moulding, but being the super talented and handy guy that he is, he did a great job.


When we were done with all that, we puttied every little nail hole. One more layer of paint on all the trims and we’re almost there.


Time to decide where the shelves belong and insert them.


Last, but not least, since hubby is an electrician, he put LED lighting on the top.  Looks great!


Sunday, September 28, 2014

Yom Teruah – AKA Feast of Trumpets


Leviticus 23 lists God’s feasts – not the Jews’ feasts, God’s feasts. (Lev 23:2) We just celebrated Yom Teruah. Scripture doesn’t tell us a lot about what to do on this day, but we are always excited to celebrate.


 The Spring feasts are remembrance of past events, but the Fall feasts have not yet been fulfilled. So, we can only make an educated guess as to the meaning. Some of the scriptures about Yom Teruah are:

Lev 23:23-25
23 Then the Lord spoke to Moses, saying, 24 “Speak to the children of Israel, saying: ‘In the seventh month, on the first day of the month, you shall have a sabbath-rest, a memorial of blowing (teruah) of trumpets, a holy convocation. 25 You shall do no customary work on it; and you shall offer an offering made by fire to the Lord.’”

Num 29:1-6
‘And in the seventh month, on the first day of the month, you shall have a holy convocation. You shall do no customary work. For you it is a day of blowing (teruah) the trumpets.You shall offer a burnt offering as a sweet aroma to the Lord: one young bull, one ram, and seven lambs in their first year, without blemish. Their grain offering shall be fine flour mixed with oil: three-tenths of an ephah for the bull, two-tenths for the ram, and one-tenth for each of the seven lambs; also one kid of the goats as a sin offering, to make atonement for you; besides the burnt offering with its grain offering for the New Moon, the regular burnt offering with its grain offering, and their drink offerings, according to their ordinance, as a sweet aroma, an offering made by fire to the Lord.

There is a lot of detail about the offerings to be made, but since there is no temple at this time, we can’t do those. Other than that, we know we are to rest, and to make a teruah - alarm, signal, sound of tempest, shout, shout or blast of war or alarm or joy.


So, that's what we make sure to do. We rest - my hubby doesn't go to work, we don't do chores or housework. And, we make a teruah.


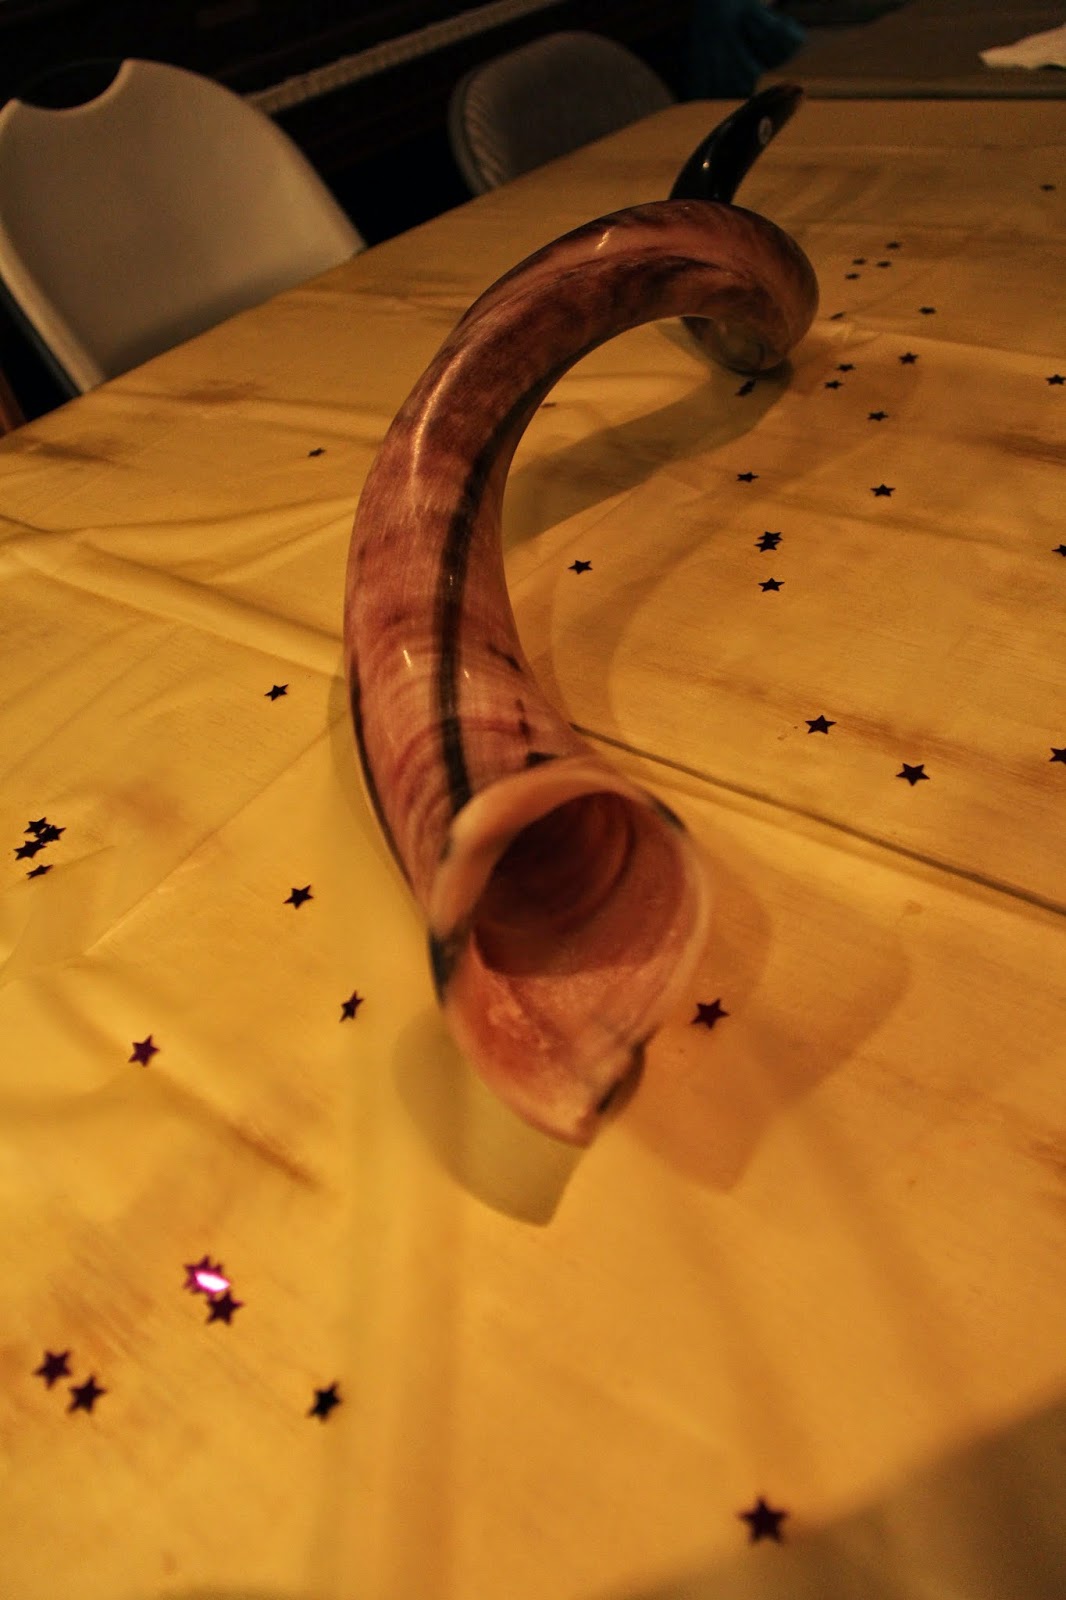
We make a teruah with trumpets and shouting and other noise makers.


We make a teruah for quite a while.


This year a friend was just arriving as we started our teruah in the back yard. She said she could hear us loud and clear down the street, so we must have been doing a good job.


Oh, and we dance.


So, if you're thinking about celebrating the Feasts, just do it. Don't worry about doing it wrong. Just take a step of faith and enjoy!

Tuesday, September 23, 2014

Built-in Billys - Part 1

This post is late in coming and I haven’t had the time to get all the information into one post, so we’ll have to go with installments.

We are blessed with an awesome great room in our home. Our kitchen, dining room and school room are all one big room. I had this huge amount of wall space in the school room. While, it is great for hanging maps and such, I knew it would look so much better and be more useful if we had built in bookshelves.


Quite honestly, it wasn't hard to make it look better. One of our “bookcases” was an old entertainment center with no sides. My husband made it in high school, so we’ve been carrying it around all these years (it’s partner is in my bedroom closet), but we finally gave it up for this project. We put it on the street with a “free” sign and it was gone in an hour. And, junk always ended up all over the hearth. Just being real, here.


I didn’t really have the expertise to start from scratch, but found that there are many blogs and tutorials for built-in Billy bookcases. A couple of the blogs I referred to most often were:


The IKEA hackers page actually has the exact layout that we used for our shelves. I like that the wide bookcases were interspersed with small bookcases to break up the monotony. And, the area for the TV in the blog worked perfectly for our schoolroom computer.

We host a home fellowship every other week, so squeezing in a home renovation in our meeting room was tricky. I purchased the shelves from IKEA, and, when, we had a 3 week break between meetings, I got started! Books went into boxes and the school table went onto the back patio. This is one of those times I’m thankful for beautiful Southern California weather in November.


The first task was to put together the IKEA bookcases. The kids loved helping with this.


Next, we removed the baseboard along the wall we planned to place the shelves.


After they were all put together, we set them against the wall to make sure they would fit. 


In the next post, I’ll get into the details of how we installed the shelves.