I’ve been trying to do at least one new and fun activity per week
this summer. I took the kids to the Adventure Playground (AP) in Huntington
Beach. I have heard there are only a small handful of adventure playgrounds in
the United States, so, I figured we had to take the time to enjoy it while it
was open this summer. I also wanted to check it out for friends with small
children. The AP suggests a minimum age of 5, but it isn’t a rule, so be aware
of your child’s abilities and interests and go from there.
They go over the rules when you arrive. Kids are required to
have an adult in the park with them, but kids under 8 are required to have an
adult with them in the building area.That’s the only
area adult supervision is required. So, if you have tiny kids and bigger ones
under 8, you’ll need to take the littles into the building area with you.
AP shares a parking lot with the Huntington Beach library.
The signs are very good and the AP is easy to find when you get to the parking lot.
When you enter, you check in and pay for the kids - $3 each,
not a bad deal. Cash only. They also have snacks for sale.
Everyone must be wearing sturdy, enclosed shoes. No water
shoes, either. If you happen to forget your sneakers, they do have shoes there
that you can use.
There is a shady area with picnic tables and a sand box and
very small jungle gym area. Lots of moms hang out in this area with their
little ones. The only difficulty there might be if you have a little one that
would want to play in the water. The shady area is right next to the water, and
kids are not allowed to play in it. It is only for rafting. So, be aware of
that.
There are port-a-potties. Eeeew! On other blogs, I saw that
people use the bathrooms at the library before they go to the AP.
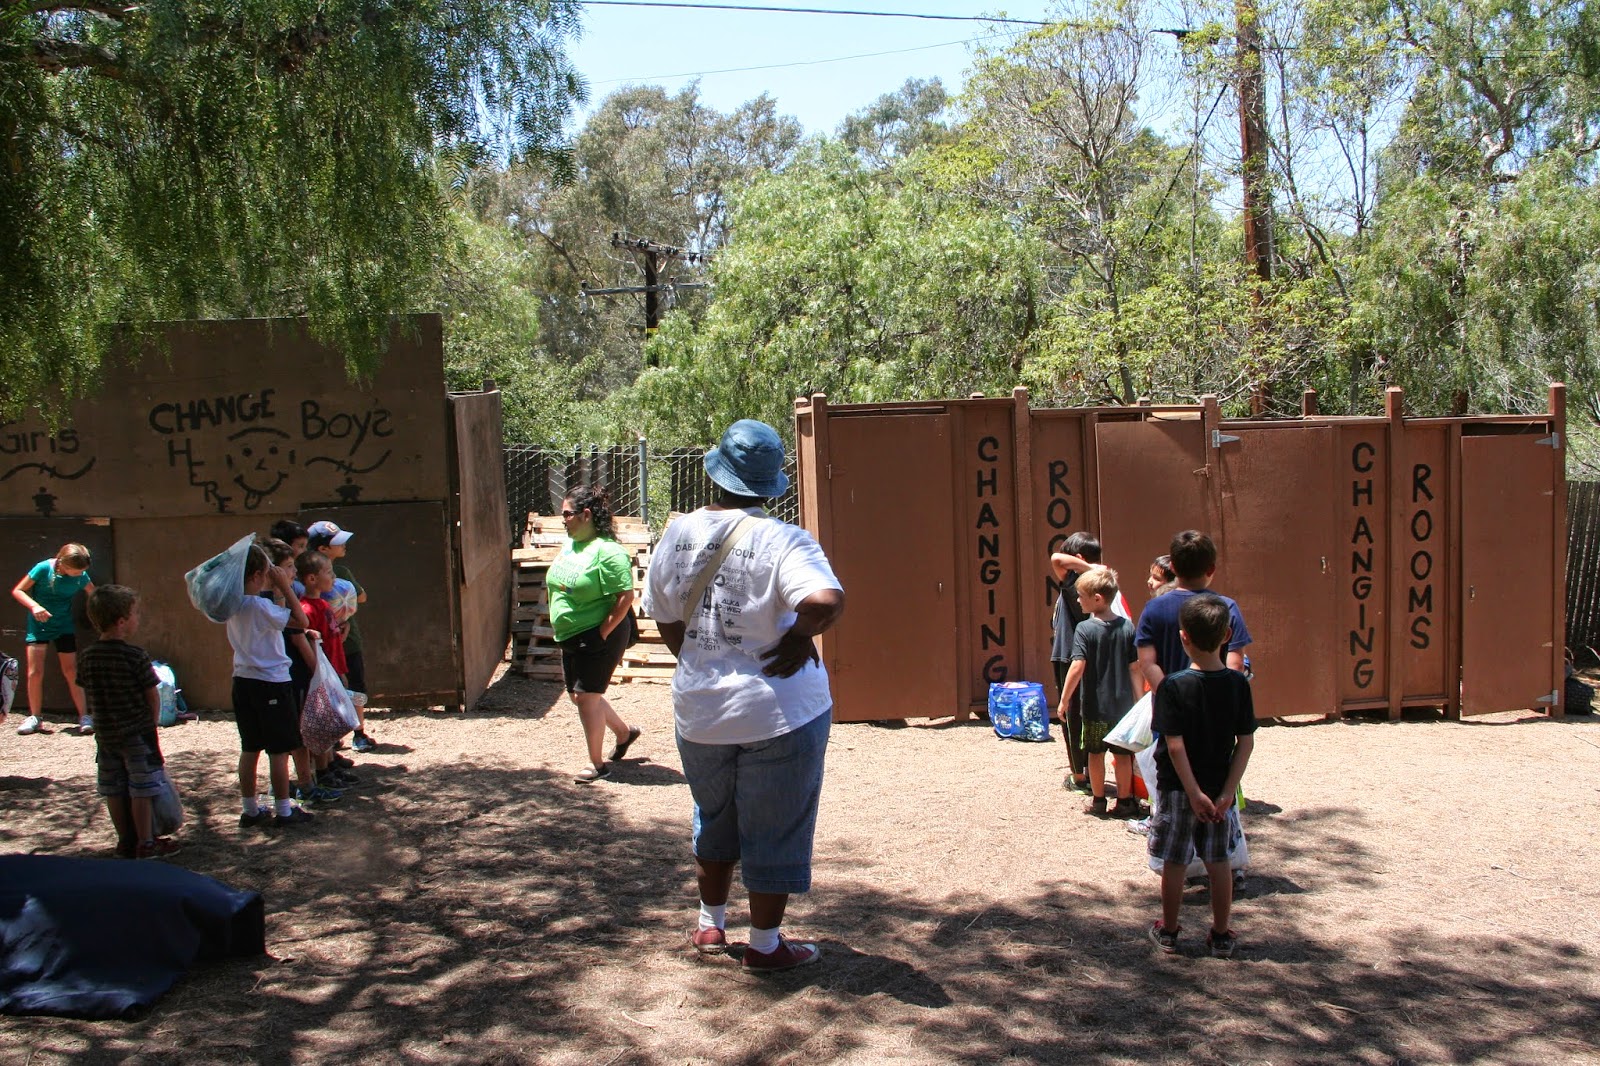
They have a couple of designated “changing rooms”. There is also one shower in the picnic area. The
day camp kids used the changing rooms. My kids chose to just sit on a towel for
the ride home.
If I were to go again, I would choose to arrive at 1:00 or
later. That is when the day camps were packing up and leaving. So, the
activities cleared out after that. Although, the lines weren't unbearably long while they were there.
There are four main activities in the AP. Activity #1 is the mudslide. This is
open intermittently throughout the day. Basically, it’s a trough with a plastic
liner that they spray with a hose. The kids slide down and end in a mud pit. My
kids were a little disappointed that the mud pit was not as muddy as they had
hoped. It was more mud-colored water. But, that didn’t stop them from going
down the slide several times. Totally doable for any little one that wants to
do it. Be aware that the smaller the child, the deeper the water will be for
them at the bottom of the slide.
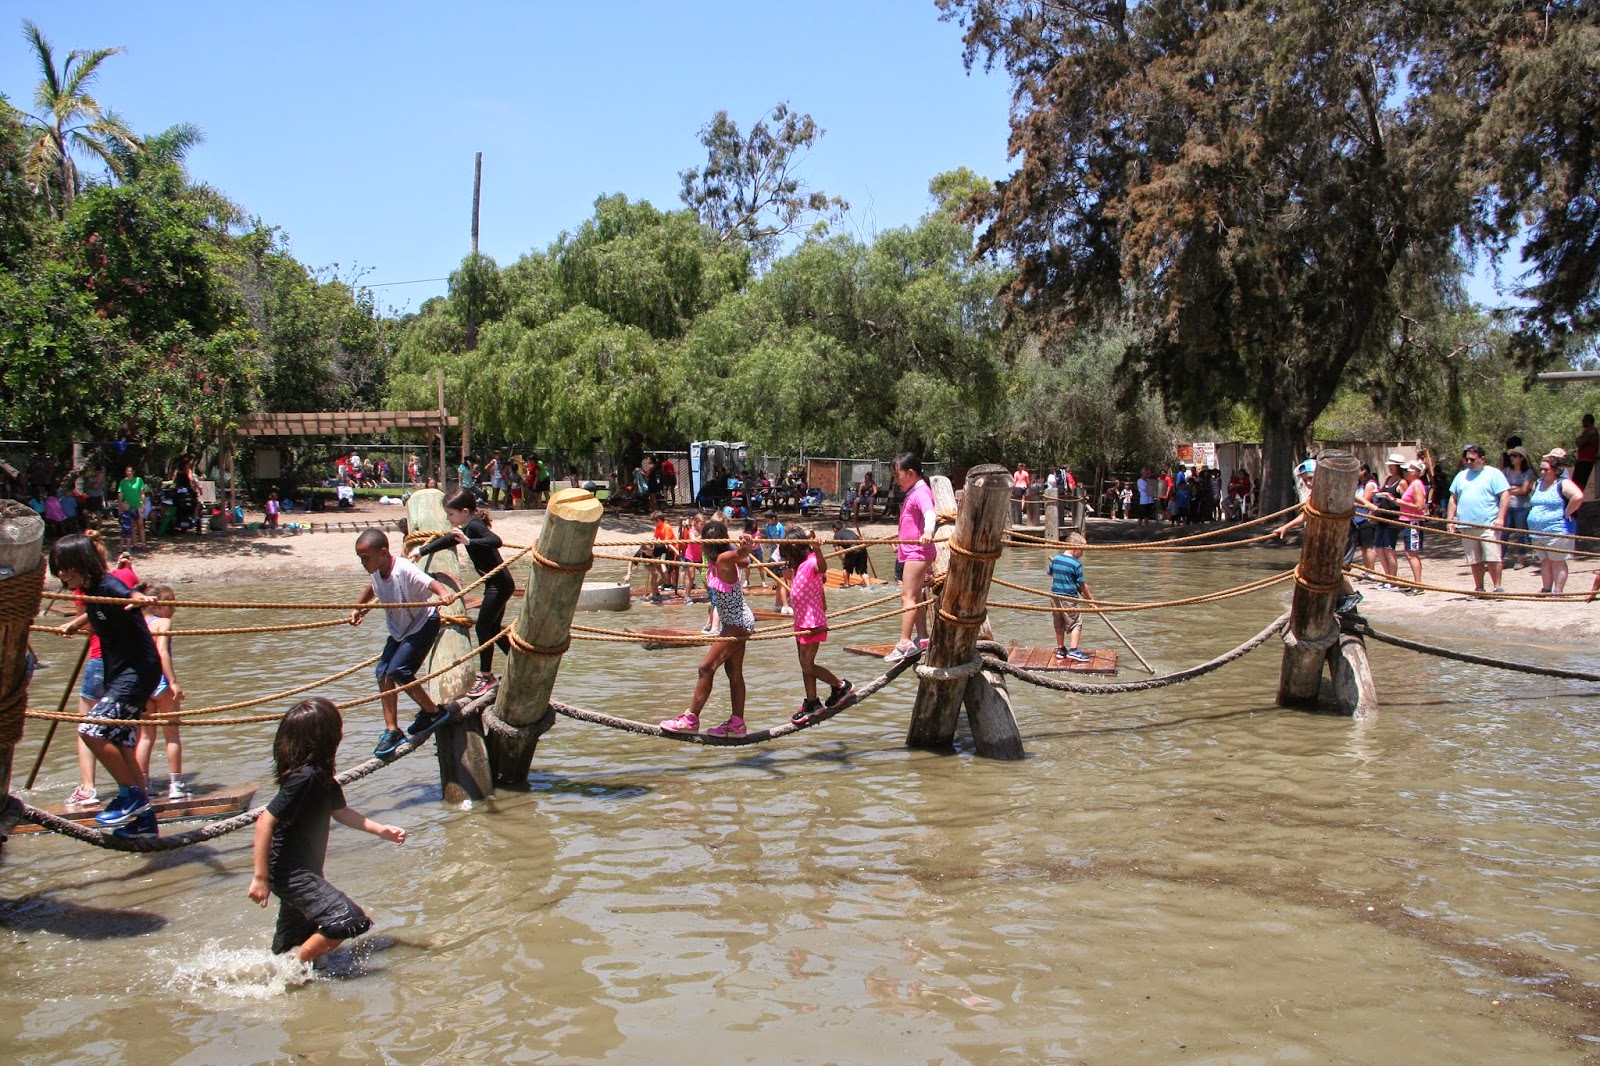
Activity #2 is the
rope bridge. You just walk across the bridge – bouncing is against the
rules. My kids did it once when there were lots of kids on the bridge and after
that, they made sure to go when it was empty – or at least almost empty.
Activity #3 is rafting.
Great fun! The kids loved it and went on several times.
You wait in line and then when it’s your turn, you walk
through the water to get to your raft.
The first time my littlest went on with her big sister.
After that, she chose to go on by herself. They do allow an adult on with the
littles, but it is difficult to balance with a big person and a little person.
Just ask my daughters. J Two littles on the raft was easier to
balance.
I saw some very small children (age 3 or so) doing it on
their own.
Activity #4 is the
building area. When you enter, you get a hammer (or saw) and 3 nails. You
can use any of the wood in the piles and you can build something free-standing
or attach it to the already existing forts.
You can earn more nails in two different ways - turning in
pieces of trash or bent/rusty nails. You will want to do this, as 3 nails doesn’t
build much. Or, in our case, 9 nails. I
couldn’t find any trash, but we found plenty of nails to turn in. As a matter
of fact, we did so good earning more nails that we gave away a couple of
handfuls to other kids when we left the area.
The kids built a chair and did a fine job of it. J
And, they dreamed of having a fort like these in our own
yard.
Since we weren’t sure what to expect, we left everything in
the car. You can bring food in with you. There are no lockers or cubbies, so, whatever you bring in, you just
set to the side or carry around with you. I told the kids we could find a
picnic table after we left, but they decided to just eat in the parking lot.
We definitely give the Adventure Playground thumbs up. Good
entertainment and lots of fun for everyone.
Here is the official website: http://www.huntingtonbeachca.gov/residents/parks_facilities/parks/huntington_central_park/adventure_playground.cfm